A gaming console stand helps organize gear and protect the console. A gamer saves space and improves airflow with the right gaming console stand. This guide explains why a stand matters and how a buyer picks, installs, and maintains one.
Key Takeaways
- A dedicated gaming console stand secures your console, improves airflow, and reduces the risk of falls, scratches, and overheating.
- Measure available space, check weight limits and port access, and prioritize stability and ventilation when choosing a gaming console stand.
- Place the stand on a level surface near power and the TV, leave at least two inches around vents, and route cables behind the stand with ties or clips.
- Dust weekly, blow vents with short bursts of compressed air, and inspect screws and cooling accessories every three months to extend console life.
- Choose compatible accessories—controller holders, charging docks, surge protectors—and verify return policies and reviews before purchase.
Why A Dedicated Console Stand Matters
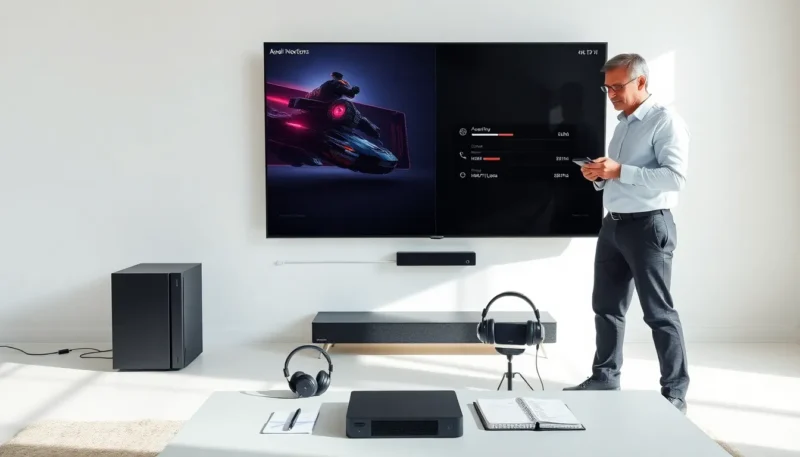
A dedicated gaming console stand secures the console and keeps vents clear. It reduces the risk of falls and scratches. It guides cable routing and frees shelf space. It also helps with cooling by raising the console off hot surfaces. A stand can make a setup look tidy and professional. Gamers who stream or host sessions gain quick access to controllers and discs. The right stand protects the console investment and improves daily use.
Common Types Of Console Stands And Their Pros/Cons
A vertical stand holds the console upright and saves horizontal space. It often improves airflow but may stress ports if the unit tips. A horizontal stand supports the console flat and offers stable placement. It fits under TVs and in media cabinets but uses more shelf area. A combined stand includes shelves or drawers for accessories. It gives storage but takes more room and costs more. A wall-mounted stand removes the console from surfaces and protects from spills. It needs solid mounting and careful measurement. A cooling stand adds fans or vents. It improves temperature control but relies on power and adds noise.
How To Choose The Right Stand For Your Setup
The buyer should measure available space and check console dimensions. They should confirm weight limits and port access. They should match the stand style to the room layout. They should consider cooling features if the room runs warm. They should check accessory storage if they own many controllers or discs. They should set a budget and compare warranty terms. They should read user reviews for fit and durability. They should prioritize stability and ventilation over looks when in doubt.
Ideal Placement, Installation, And Cable Management
Place the stand on a level surface near the TV and power outlet. Leave at least two inches of space around vents. Place the console away from heat sources and direct sunlight. Route cables behind the stand to reduce trip hazards. Use cable ties or clips to group cords and label power and HDMI lines. Test controller range after placement. Check that infrared and Bluetooth signals work from the usual seating area. If the stand sits on carpet, use a hard mat to keep airflow steady.
Maintenance, Ventilation, And Longevity Tips
Dust the stand and console weekly with a soft brush or microfiber cloth. The owner should vacuum nearby floor areas to lower dust accumulation. They should clean vents with compressed air in short bursts. They should avoid spraying liquids near ports. They should keep the console elevated to allow bottom vents to draw air. They should schedule a deeper inspection every three months. They should check screws and fasteners and tighten them if loose. They should replace cooling pads or fans when noise or temperature rises persist.
Useful Accessories And Add-Ons To Consider
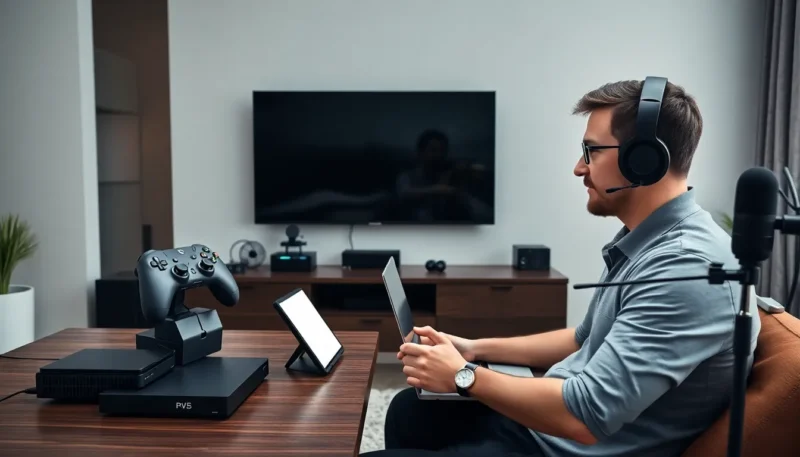
A controller holder keeps controllers secure and charged. A charging dock reduces clutter and shortens charging time. A headset hook frees shelf space and protects the headset. A surge protector shields the console and accessories from power spikes. A cooling pad or fan module lowers operating temperature under heavy load. Anti-slip pads prevent the console from shifting during play. A small storage drawer holds discs, cables, and small tools. Gamers who stream may add a small shelf for a webcam or capture device.
Where To Buy And What To Look For Before Purchase
Buy a gaming console stand from reputable retailers or the console maker. Compare return policies and warranty coverage. Check product dimensions and weight limits against the console specs. Read recent customer reviews for fit and build quality. Look for stands with easy returns and visible customer photos. Consider in-store displays to test fit when possible. Factor delivery time and shipping protection into the decision.
Choosing Between Vertical Vs. Horizontal Orientation
A vertical orientation saves shelf space. A horizontal orientation gives greater stability. The buyer should weigh space and tabletop strength. They should test port access in both positions.
Material, Size, And Compatibility Checklist
Choose materials that match the room and support the console weight. Metal and thick plastic offer good support. Wood looks good but requires precise fit. Confirm the stand fits the console model and leaves vent gaps.
Tools And Steps For Secure Installation
Prepare a screwdriver, level, and measuring tape. Follow the included instructions step by step. Secure screws snugly and do not over-tighten. Use wall anchors for wall mounts. Test stability before placing the console.
Simple Cable Management Solutions
Use Velcro straps or zip ties to group cables. Apply adhesive cable clips to the back of the stand. Label cables with tags for fast troubleshooting. Keep power and signal cables separated to avoid interference.
Cleaning, Dust Prevention, And Airflow Best Practices
Wipe surfaces weekly and use compressed air for vents. Keep the area around the stand clean and free of loose fibers. Avoid placing the stand on soft bedding and thick carpet.
Protecting Against Overheating And Physical Damage
Place the stand away from radiators and space heaters. Do not block air intake or exhaust ports. Use a fan accessory if the room temperature exceeds recommended operating limits.
Controller Holders, Charging Stations, And Headset Hooks
Check compatibility of holders with specific controller models. Choose charging stations that report battery status. Mount headset hooks at a reachable height.
Warranty, Return Policy, And Customer Reviews To Check
Confirm a clear return window and warranty length. Read reviews that mention fit with the exact console model. Watch for reports of wobble, poor fit, or missing parts.